OpenBSD - bioctl - change the passphrase
Piece of cake… As root:
bioctl -P $DISK
where $DISK is the target disk.
Piece of cake… As root:
bioctl -P $DISK
where $DISK is the target disk.
OpenVPN is a free and open-source virtual private network (VPN).
Let’s install the openvpn client.
pkg_add openvpn
Assuming that you have an openvpn settings file, calling here as setup.ovpn.
cat setup.ovpn

client
proto tcp-client
remote 191.8.146.114 1194
dev tun
resolv-retry infinite
nobind
persist-key
persist-tun
remote-cert-tls server
verify-x509-name server_lBklUYL2BA98l9B3 name
auth SHA256
auth-nocache
cipher AES-128-GCM
tls-client
tls-version-min 1.2
tls-cipher TLS-ECDHE-ECDSA-WITH-AES-128-GCM-SHA256
ignore-unknown-option block-outside-dns
setenv opt block-outside-dns # Prevent Windows 10 DNS leak
verb 3
<ca>
-----BEGIN CERTIFICATE-----
...
-----END CERTIFICATE-----
</ca>
<cert>
-----BEGIN CERTIFICATE-----
...
-----END CERTIFICATE-----
</cert>
<key>
-----BEGIN ENCRYPTED PRIVATE KEY-----
...
-----END ENCRYPTED PRIVATE KEY-----
</key>
<tls-crypt>
#
# 2048 bit OpenVPN static key
#
-----BEGIN OpenVPN Static key V1-----
...
-----END OpenVPN Static key V1-----
</tls-crypt>
Let’s create a directory to ours opvn files, as root:
mkdir -p /etc/openvpn
Store your opvn files in /etc/openvpn.
To connect use:
/usr/local/sbin/openvpn --config /etc/openvpn/setup.ovpn
If you need to provide a password, use --askpass flag.
/usr/local/sbin/openvpn --askpass --config /etc/openvpn/setup.ovpn
Create a hostname file to your new network interface.
touch /etc/hostname.tun0
Edit the hostname.tun0 file.
up
!/usr/local/sbin/openvpn --daemon --config /etc/openvpn/setup.ovpn
Now you can setup your interface.
ifconfig tun0 up
Git is a free and open source distributed version control system designed to handle everything from small to very large projects with speed and efficiency.
“Talk is cheap. Show me the code.”
– Linus Torvalds
On 3 April 2005, Linus Torvalds began the development of git, after many Linux kernel developers gave up access to BitKeeper. Just 3 days after, on 6 April, Torvalds announced the project. And the next day, it became self-hosting.
On 26 July 2005, Linus Torvalds turned over git’s project maintenance to Junio Hamano. Hamano is the project’s core maintainer since.
The basic/usual git workflow is the following:
| part | description |
|---|---|
| working directory | create, edit and delete files |
| staging area | changes that you made in working directory |
| git repository | where all changes are storaged |
Before you use git, you need to setup your name and email.
git config --global user.name "Liz Umgeher"
git config --global user.email "liz@umgeher.org"
git init
git clone [url/path]
git add file
git rm file
git status
git commit
| command | description |
|---|---|
| git add | add files to the staging area |
| git diff | show the difference between the working directory and the staging area |
| git init | create a repository |
| git log | display a list of all previus commits |
| git status | show contents of the staging area |
news "r\/openbsd"git clone https://git.sr.ht/~umgeher/sfeed-news
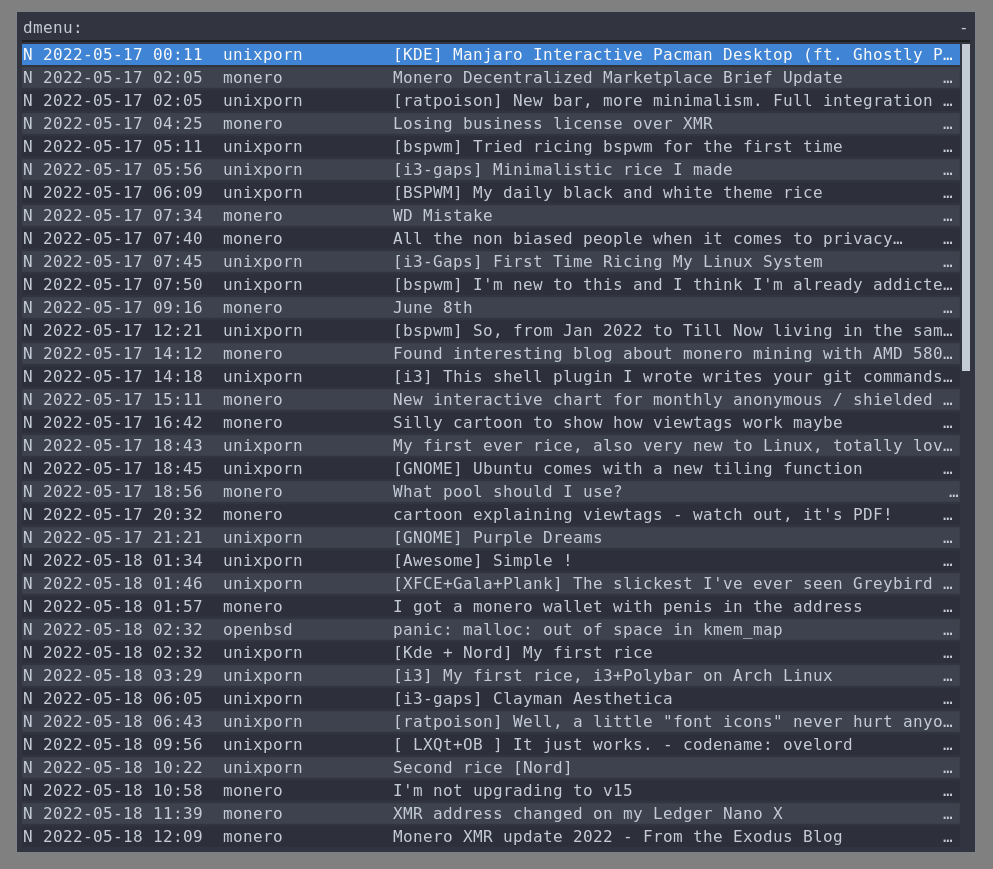
Years using newsboat without any issue at all, but in the past two OpenBSD’s releases I saw some errors and ui lag. I want something fast and simple and I found! Sfeed!
Sfeed is an Atom/RSS parser. Has a simple (but useful) TUI1, a fetch solution to update yours feeds and a group of data transformation utils. You can choose your output as HTML, plain text, gopher, mbox and others.
The Sfeed’s webpage has an useful example to integrate it to dmenu.
You need to populate your feed’s urls in sfeedrc file, so create the sfeed’s directory in yours $HOME.
mkdir -p ~/.sfeed
Create the sfeedrc in that directory. You can use my sfeedrc as example:
feeds() {
    feed "xkcd" "https://xkcd.com/atom.xml" "https://xkcd.com"
    feed "unixporn" "https://www.reddit.com/r/unixporn/.rss"
    feed "openbsd" "https://www.reddit.com/r/openbsd/.rss"
    feed "plan9" "https://www.reddit.com/r/plan9/.rss"
    feed "monero" "https://www.reddit.com/r/monero/.rss"
    feed "erlang" "https://www.reddit.com/r/erlang/.rss"
    feed "luke's videos" "https://videos.lukesmith.xyz/feeds/videos.xml?sort=-publishedAt&filter=local"
    feed "luke's blog" "https://lukesmith.xyz/rss.xml"
    feed "drew devault" "https://drewdevault.com/blog/index.xml"
    feed "lucas moreira" "https://lucasemmoreira.xyz/rss.xml"
    feed "solene" "https://dataswamp.org/~solene/rss.xml"
    feed "christine" "https://christine.website/blog.rss"
    feed "openbsd zine" "https://webzine.puffy.cafe/atom.xml"
}
In a nutshell, it’s a function called feeds, in this function you need to set each feed as:
feed <name> <feedurl>
Where and are the feed’s name and rss/atom url respectively.
Now you can run sfeed_update in your shell. And done, you have yours feeds downloaded and ready to read.
Want to use the curse solution? Sure, just type:
sfeed_curses ~/.sfeed/feeds/*
Maybe, you want to try the sfeed’s official example:
#!/bin/sh
url=$(sfeed_plain "$HOME/.sfeed/feeds/"* | dmenu -l 35 -i | \
	sed -n 's@^.* \([a-zA-Z]*://\)\(.*\)$@\1\2@p')
test -n "${url}" && $BROWSER "${url}"
Or if you want to use in my way…
I created two small scripts to manage what I already read and what is unread yet.
You can clone the repository with:
git clone https://git.sr.ht/~umgeher/sfeed-news
There are two scripts in that repository, news and news-update. I use news-update to update my feeds and news to show them. Ah, I use rofi, not dmenu.
Here a screen-shot of the final result:
TUI: text-based user interface ↩︎
Para criar um thumbdrive com crypto no OpenBSD.
Primeiro coloque o seu drive no seu pc. Use o dmesg para pegar o id do device que voce acabou de colocar, deve ser as ultimas linhas, logo:
dmesg | tail
No meu caso retornou:
sd2 at scsibus4 targ 1 lun 0: <Kingston, DataTraveler 3.0, PMAP> removable serial.09511666E3A08995038B
sd2: 59148MB, 512 bytes/sector, 121135104 sectors
OK, agora eu sei que o device que coloquei esta’ como sd2. Vamos limpar de fato o nosso device.
dd if=/dev/urandom of=/dev/rsd2c bs=1m
Isso vai escrever por todo device random bytes, limpando o que estiver la’ dentro. Isso pode/vai demorar um pouco.
Depois de zerar nosso device, vamos criar o registro MBR nele.
fdisk -iy sd2
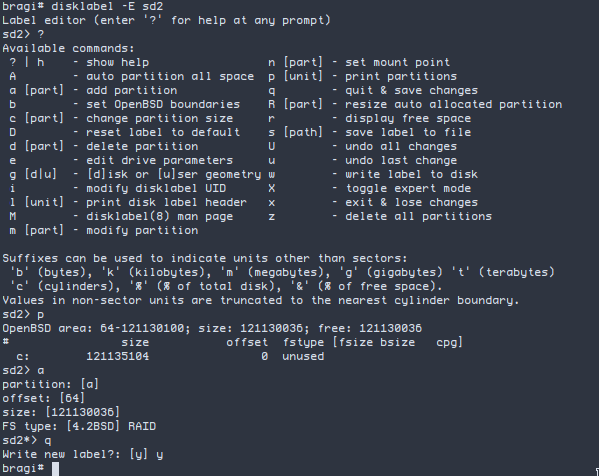
Agora podemos criar uma particao com o formato RAID usando o disklabel.
disklabel -E sd2
Agora que criamos nossa particao a do tipo RAID. Vamos criar, um device raidsoft0 usando crypto.
bioctl -c C -l sd2a softraid0
Ele vai te perguntar o passphrase que voce deseja usar.
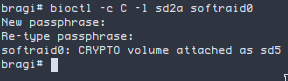
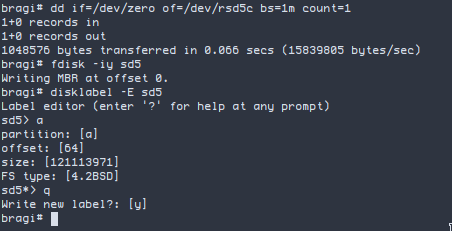
No final do processo ele vai te indicar o device id que foi gerado. No meu caso foi sd5. Agora podemos organizar o device e criar nossa particao e filesystem.
dd if=/dev/zero of=/dev/rsd5c bs=1m count=1
fdisk -iy sd5
disklabel -E sd5
O processo de criacao da particao e’ o mesmo que o anterior, porem agora vamos deixar o FS type padrao.
Por fim, criando o filesystem…
newfs sd5a
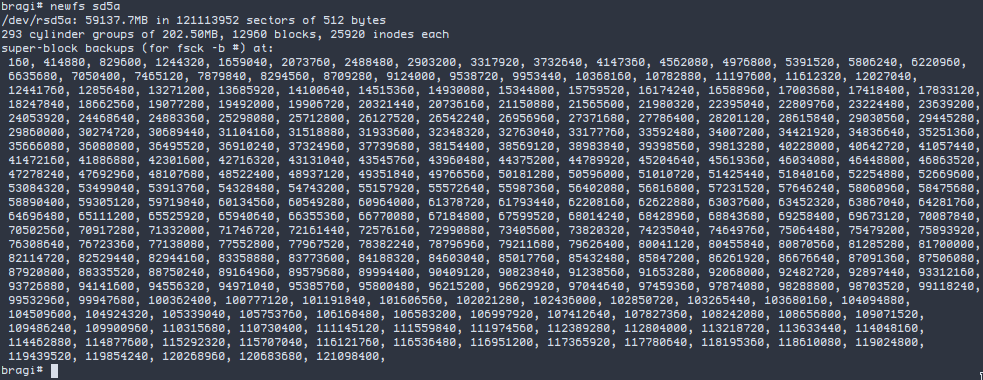
Seu device esta’ pronto para mount e uso.
Lembre-se de utilizar o bioctl depois de usar seu device.
bioctl -d sd5
Para compilar a toolchain do monero no OpenBSD, devemos ter os seguintes pacotes instalados… cmake, gmake, zeromq, libiconv e boost. Temos todos em pkg.
pkg_add cmake gmake zeromq libiconv boost
Agora vamos clonar o projeto…
git clone https://github.com/monero-project/monero.git
Dentro do diretorio do projeto, execute:
ulimit -d 2000000 ; env DEVELOPER_LOCAL_TOOLS=1 BOOST_ROOT=/usr/local gmake release-static
Agora voce tem a toolchain do monero dentro do diretorio
./build/OpenBSD/master/release/bin.
CMUS e’ um otimo player para seu terminal! Simples, rapido e sem frescura nenhuma.
“Without music, life would be a mistake.”
– Friedrich Nietzsche

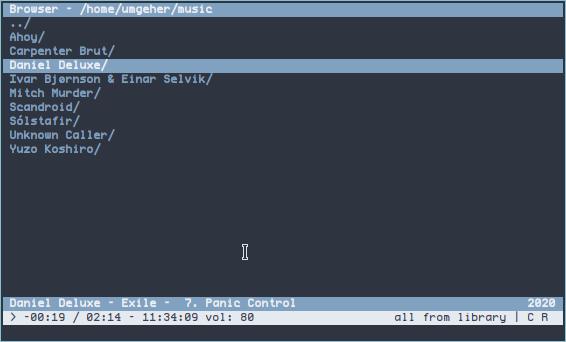
Depois de instalar e rodar o cmus no terminal, ele vai apresentar essa tela porem sem musicas adicionadas a sua lib. Vamos adicionar musica a sua lib.
Aperte 5 para mostrar a tela do filesystem. Nessa tela voce pode navegar pelo filesystem em busca das suas musicas. Eu coloco todas fisicamente em ~/music mesmo.
Vou descompactar um disco que tenho do GUNSHIP para adicionar na minha lib.
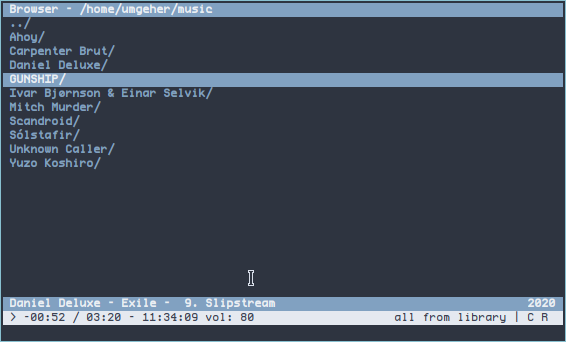
Com o diretorio selecionado, eu aperto a tecla a. O CMUS adiciona o diretorio para minha lib. Detalhe, o CMUS nao copia/move seus arquivos, ele simplesmente guarda os metadados. Aperte 1 e voce vai voltar para a tela do player.
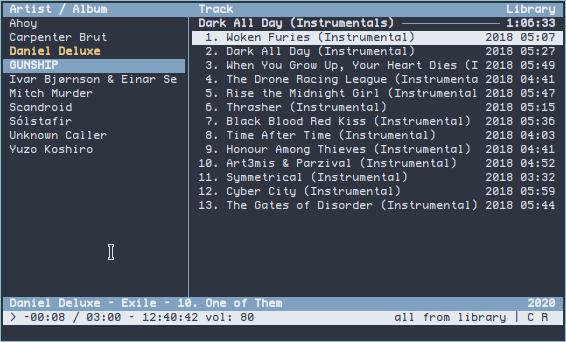
Para navegar entre os artistas, use as setas do seu teclado. Para ir para a proxima caixa de navegacao, onde as musicas estao localizadas, use a tecla tab. Para inicar a musica, aperte enter.
Alguns binds:
Para customizar e ver todos os binds, aperte a tecla 7.
Nao esqueca de ler o manual do CMUS, onde voce vai encontrar mais informacoes e configuracoes.
Nao faca uso de softwares como spotify, alem de pagar mal os musicos desconhecidos do publico, eles violam sua privacidade e te oferecem arquivos de baixa qualidade. Use algo como bandcamp. Compre as musicas que voce realmente gosta, faca o download em alta qualiadade e ajude seu artista preferido. Alias, segue minha wishlist.
Markdown super resumido…
# Header 1
## Header 2
### Header 3
Paragrafos sao separados por linhas em branco. Duplos asteriscos fazem
o texto ficar **Bold**. _Italico_ e' underscore.
Lista:
- cada linha e' um item
- toda linha tem de comecar com -
Se quiser fazer uma lista ordenada:
1. voce deve colocar o inteiro 1 seguido de .
1. os proximos items da lista tambem vao ter o 1. no inicio da linha
1. o render vai processar e cuidar dos numeros para voce
Isso [aqui](https://umgeher.org) e' um link.

/comments ~umgeher/changelog@lists.sr.ht?Subject=Re: OpenBSD - bioctl - change the passphrase
/permalink https://umgeher.org/posts/2022/09/openbsd-bioctl-change-the-passphrase.html